step-by-step guide to installing concrete pump pipes
As a concrete pump pipe fittings supplier, we understand the importance of proper concrete pump pipe installation for concrete pumping efficiency and construction safety. The following is a detailed concrete pump pipe installation guide to help you optimize the installation of concrete pump pipe step by step to extend the service life of the pump pipe.
Preparation before installing concrete pump pipe
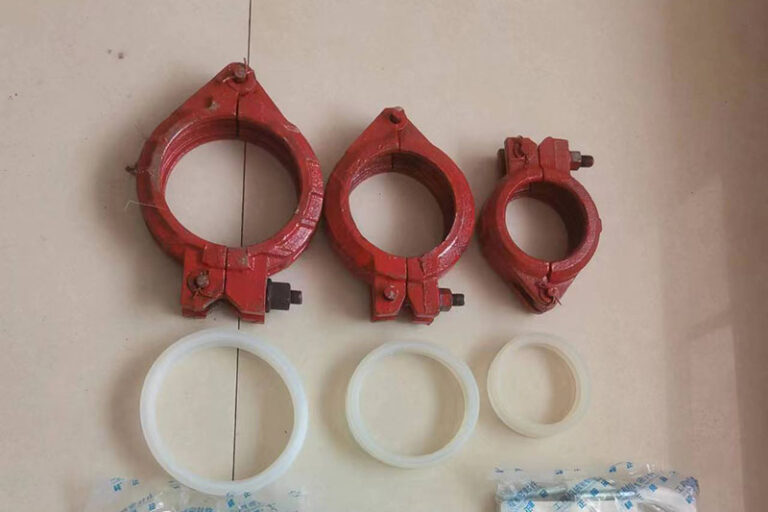
Check the quality of pipe fittings
Confirm that all pump pipes, elbows and seals are free of cracks, deformation or wear, and the inner wall should be smooth without concrete residue.
Check whether the pipe clamp (fixture) is intact, and make sure the bolts are not corroded or slippery.
Planning piping layout
Design the shortest and straightest pumping path according to the construction site and reduce the number of elbows (no more than 3 90° elbows are recommended).
Avoid sharp bends in the pipeline, and recommend the use of large radius elbows (e.g. R1000mm) to reduce pumping resistance.
Preparation of tools and personnel
Lifting equipment (e.g. crane), wrenches, lubricants (e.g. lithium grease), safety ropes, etc. should be prepared.
Operators need to wear gloves, helmets, and fasten the safety belt when working at height.

Installation steps
Fix the base pipe section
Dock the outlet pipe with the discharge port of the pump truck and fasten it with high-strength pipe clamps to ensure that the seal is installed in place.
The ground pipe needs to be padded with bracket or wooden square to avoid direct contact with soil or sharp objects.
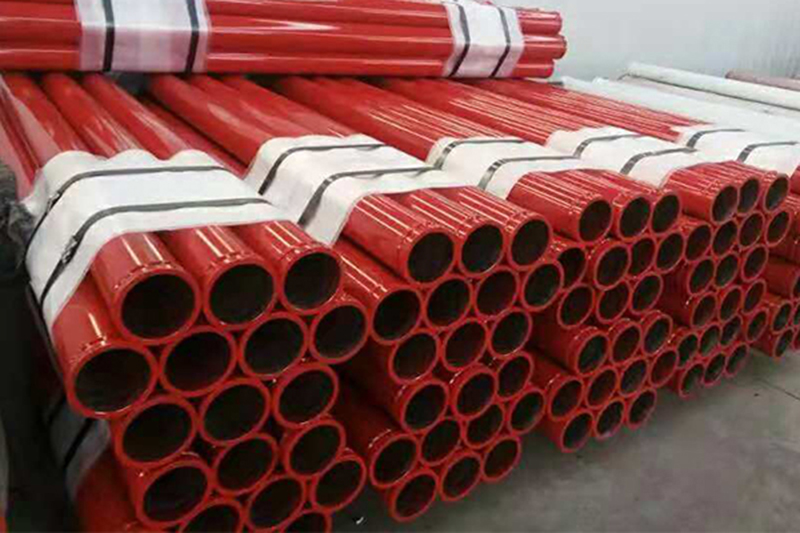
Connect the concrete pump pipe section by section.
Install the pipes in the order of “from the pump to the pouring point”, and align the flanges of each section of pipes to avoid misalignment, which may lead to poor sealing.
Additional reinforcement is required at the elbow, it is recommended to install support brackets on both sides of the elbow.
Sealing and lubrication
Apply special sealing grease on all interfaces to prevent leakage of concrete slurry.
Tube clamp bolts should be tightened in diagonal order (torque ≥300N-m) to avoid one-sided stress.
End hose installation
Connect 3~5 meters wear-resistant rubber hose at the end to facilitate flexible adjustment of pouring position.
The hose should be fixed with metal ring to avoid falling off when the pump pressure is too high.
Inspection after installation
Pressure test
Run the pump truck with no load, gradually increase the pressure to 1.2 times of the working pressure, and check whether there is any leakage in each interface.
Safety confirmation
Ensure that the pipeline is not suspended or swaying, and the overhead section needs to be fixed on the structure body with steel wire rope.
Set warning signs to prevent non-operators from approaching the pumping area.
Maintenance and dismantling suggestions
Daily maintenance: rinse the pipeline with water in time after pumping to prevent concrete from condensing.
Disassembly order: disassemble in the reverse direction from the pouring point to the pump, and tap the concrete pump pipe to discharge the residual concrete.
Storage requirements: Clean and store vertically to avoid stacking and deformation.
Through the standardized installation and maintenance of concrete pump pipe, it can significantly reduce the risk of pipe blockage and pipe burst, and improve the pumping efficiency by more than 30%.